Trong thời đại hiện nay, khi mà công nghệ ngày càng trở nên phổ biến thì vấn đề bảo mật thông tin trên các website lại càng trở nên quan trọng hơn bao giờ hết. Từ nhu cầu thực tế của người sử dụng và quản lý các website ngày càng có nhiều chứng loại chứng chỉ SSL /TLS xuất hiện, có cả loại miễn phí cho người dùng bình thường và mất phí đối với các website chứa nhiều thông tin dữ liệu người dùng. Bài viết này sẽ hướng dẫn bạn cách cài đặt chứng chỉ SSL miễn phí từ Let’s Encrypt cho website chạy WordPress để tăng tính an toàn cho website cũng như tạo sự tin tưởng cho người truy cập website.
Nội dung bài viết
Yêu cầu chuẩn bị
- Server bạn dùng sử dụng hệ điều hành CentOS8, đã cài đặt LEMP Stack.
- Bài viết mặc định bạn đã có 1 website chạy trên WordPress hoạt động bình thường và chưa được kích hoạt SSL/TLS.
- Sử dụng root user hoặc user có quyền sudo để SSH vào server.
Các bước thực hiện
Bước 1: SSH vào server với root user hoặc user có quyền sudo
Bước 2: Cài đặt Certbot
Certbot là một công cụ dòng lệnh miễn phí giúp đơn giản hóa quy trình lấy và gia hạn chứng chỉ SSL từ Let’s Encrypt và tự động kích hoạt HTTPS trên máy chủ của bạn.
- Cài đặt các gói cần thiết
  dnf module -y install python36
dnf -y install gcc mod_ssl python3-virtualenv redhat-rpm-config augeas-libs libffi-devel openssl-devel - Tải về certbot script
curl -O https://dl.eff.org/certbot-auto- Sau khi tải xuống hoàn tất, di chuyển file
certbot-autotới thư mục/usr/local/binvà cấp quyền cho filecertbot-auto
  mv certbot-auto /usr/local/bin/certbot-auto
  chmod 0755 /usr/local/bin/certbot-auto
Bước 3: Thiết lập nhận chứng chỉ miễn phí từ Let’s Encrypt
- Sử dụng câu lệnh
certbotđể tạo và cài đặt chứng chỉ Let’s Encrypt
/usr/local/bin/certbot-auto --nginxOUTPUT
Saving debug log to /var/log/letsencrypt/letsencrypt.log Plugins selected: Authenticator nginx, Installer nginx Enter email address (used for urgent renewal and security notices) (Enter 'c' to cancel):havy.nt12@gmail.com <<địa chỉ email để nhận thông báo bảo mậtPlease read the Terms of Service at https://letsencrypt.org/documents/LE-SA-v1.2-November-15-2017.pdf. You must agree in order to register with the ACME server at https://acme-v02.api.letsencrypt.org/directory (A)gree/(C)ancel: A <<Điều khoản và điều kiện truy cậpWould you be willing to share your email address with the Electronic Frontier Foundation, a founding partner of the Let's Encrypt project and the non-profit organization that develops Certbot? We'd like to send you email about our work encrypting the web, EFF news, campaigns, and ways to support digital freedom. (Y)es/(N)o: Y <<Đăng ký tinWhich names would you like to activate HTTPS for? 1: thuyhiend.space 2: www.thuyhiend.space Select the appropriate numbers separated by commas and/or spaces, or leave input blank to select all options shown (Enter 'c' to cancel): 1 <<lựa chọn tên miền của bạnObtaining a new certificate Performing the following challenges: http-01 challenge for thuyhiend.space Waiting for verification… Cleaning up challenges Deploying Certificate to VirtualHost /etc/nginx/conf.d/thuyhiend.space.conf Please choose whether or not to redirect HTTP traffic to HTTPS, removing HTTP access. 1: No redirect - Make no further changes to the webserver configuration. 2: Redirect - Make all requests redirect to secure HTTPS access. Choose this for new sites, or if you're confident your site works on HTTPS. You can undo this change by editing your web server's configuration. Select the appropriate number [1-2] then [enter] (press 'c' to cancel): 2 Redirecting all traffic on port 80 to ssl in /etc/nginx/conf.d/thuyhiend.space.conf Congratulations! You have successfully enabled https://thuyhiend.space You should test your configuration at: https://www.ssllabs.com/ssltest/analyze.html?d=thuyhiend.space IMPORTANT NOTES: Congratulations! Your certificate and chain have been saved at: /etc/letsencrypt/live/thuyhiend.space/fullchain.pem Your key file has been saved at: /etc/letsencrypt/live/thuyhiend.space/privkey.pem Your cert will expire on 2020-04-09. To obtain a new or tweaked version of this certificate in the future, simply run certbot-auto again with the "certonly" option. To non-interactively renew all of your certificates, run "certbot-auto renew" Your account credentials have been saved in your Certbot configuration directory at /etc/letsencrypt. You should make a secure backup of this folder now. This configuration directory will also contain certificates and private keys obtained by Certbot so making regular backups of this folder is ideal. If you like Certbot, please consider supporting our work by: Donating to ISRG / Let's Encrypt: https://letsencrypt.org/donate Donating to EFF: https://eff.org/donate-le We were unable to subscribe you the EFF mailing list because your e-mail address appears to be invalid. You can try again later by visiting https://act.eff.org.
Bước 4: Redirect tất cả các truy vấn tới HTTPS
- Thêm vào file config của website một config server có nội dung như sau:
 server {
   listen 80;
   server_name thuyhiend.space;
   return 301 https://thuyhiend.space$request_uri;
 }
- Restart service Nginx
systemctl restart nginxBước 5: Cấu hình Firewall cho phép các yêu cầu HTTPS
firewall-cmd --permanent --add-port=443/tcp

firewall-cmd --reload
Bước 6: Xác nhận chứng nhận Let’s Encrypt
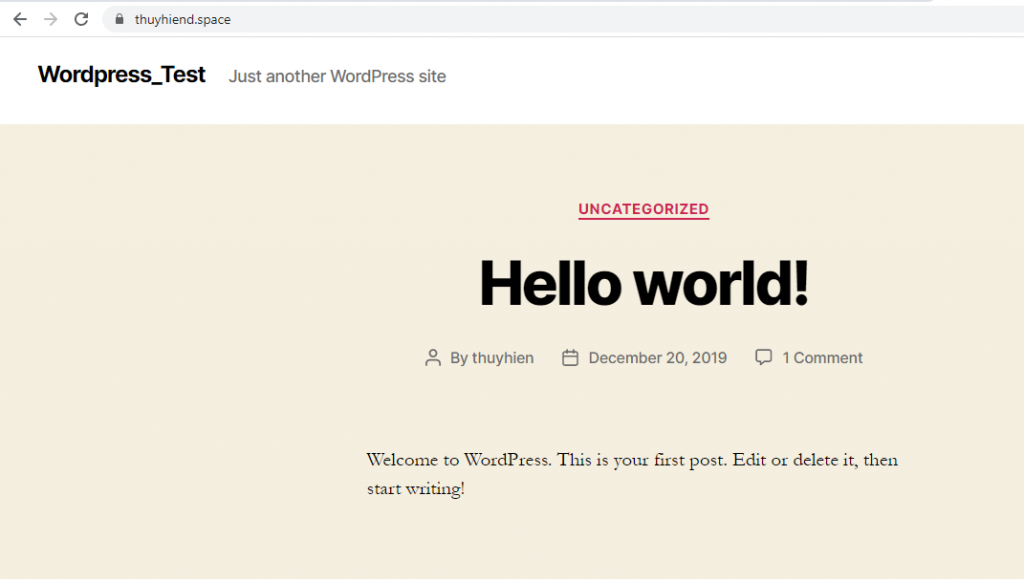
Từ trình duyệt của bạn nhập vào địa chỉ: http://your_domain để kiểm tra. Trình duyệt sẽ tự động redirect yêu cầu từ HTTP sang HTTPS
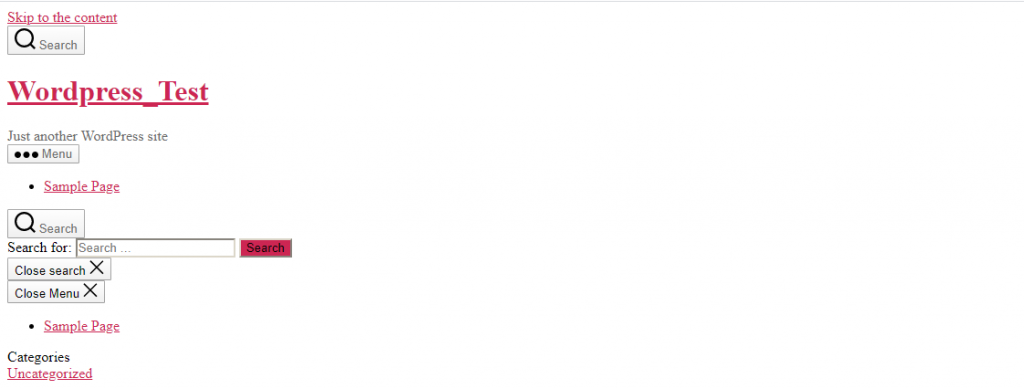
Nếu trang của bạn gặp lỗi như phía dưới, bạn sẽ cần cấu hình lại database của WordPress.

FIX: truy cập vào database của site WordPress thực hiện các câu lệnh. Chú ý: thay đổi thông tin đầu ra của url cũ phù hợp với thông tin của bạn
Tìm url cũ:

SELECT * FROM wp_options WHERE option_name='home';
SELECT * FROM wp_options WHERE option_name='siteurl';

Đổi url mới:

UPDATE wp_options SET option_value = replace(option_value, 'http://10.10.34.114/wordpress', 'https://thuyhiend.space') WHERE option_name = 'home' OR option_name = 'siteurl';UPDATE wp_posts SET guid = replace(guid, 'http://10.10.34.114/wordpress','https://thuyhiend.space');UPDATE wp_posts SET post_content = replace(post_content, 'http://10.10.34.114/wordpress', 'https://thuyhiend.space');
Kiểm tra lại site WordPress sau khi đã sửa lại thông tin

Bước 7: Kiểm tra chứng nhận SSL
Bạn có thể truy cập vào 1 trong 2 địa chỉ dưới đây để kiểm tra website của bạn đã được cập nhật SSL hay chưa.
hoặc
Vậy là bạn đã hoàn thành cài đặt nhận chứng chỉ SSL miễn phhis từ Let’s Encrypt cho WordPress Website. Chúc các bạn thành công!
Nếu gặp bất cứ vấn đề gì thì hãy bình luận cho mình biết nhé!!!!
BÀI VIẾT LIÊN QUAN

Leave a Reply