
Moodle là nền tảng học tập trực tuyến (LMS – Learning Management System) được sử dụng nhiều nhất trên thế giới. Bởi thiết kế hệ thống mạnh mẽ, an toàn, dễ tích hợp tùy chỉnh, thân thiện với người sử dụng. Đặc biệt hơn Moodle là hệ thống mã nguồn mở, hoàn toàn miễn phí.
Moodle (viết tắt của Modular Object-Oriented Dynamic Learning Emviroment) được Martin Dougiamas phát triển năm 1999, công bố phiên bản đầu tiên vào ngày 20 tháng 8 năm 2002. Ngày nay, hệ thống Moodle được điều hành và lãnh đạo bởi tổ chức Moodle HQ.
Yêu cầu
Chuẩn bị máy ảo với hệ điều hành CentOS 7 với cấu hình:
- CPU: 2
- RAM: 2 GB
- Disk: 100 GB
- Network: 1 interface
Mục lục
Cài đặt
Phần 1: Chuẩn bị
Bước 1: Đặt Hostname
hostnamectl set-hostname nhmoodleBước 2: Cập nhật OS và cài đặt các gói cần thiết
yum install epel-release -y
yum update -y
yum install wget -y
Bước 3: Tắt firewall, SELinux
sed -i 's/SELINUX=enforcing/SELINUX=disabled/g' /etc/sysconfig/selinux
sed -i 's/SELINUX=enforcing/SELINUX=disabled/g' /etc/selinux/config
systemctl stop firewalld
systemctl disable firewalld
Bước 4: Khởi động lại máy ảo
init 6Phần 2: Cài đặt và cấu hình MariaDB
Bước 1: Cài đặt MariaDB 10.2
echo '[mariadb]
name = MariaDB
baseurl = http://yum.mariadb.org/10.2/centos7-amd64
gpgkey=https://yum.mariadb.org/RPM-GPG-KEY-MariaDB
gpgcheck=1' >> /etc/yum.repos.d/MariaDB.repo
yum -y update
yum install -y mariadb mariadb-server
Bước 2: Khởi động dịch vụ
systemctl start mariadb
systemctl enable mariadb
Phần 3: Cài đặt Apache
Bước 1: Cài đặt
sudo yum install httpd -y
sudo sed -i 's/^/#&/g' /etc/httpd/conf.d/welcome.conf
sudo sed -i "s/Options Indexes FollowSymLinks/Options FollowSymLinks/" /etc/httpd/conf/httpd.conf
Bước 2: Khởi động dịch vụ
sudo systemctl start httpd.service
sudo systemctl enable httpd.service
Phần 4: Cài đặt PHP 7.2
yum install -y http://rpms.remirepo.net/enterprise/remi-release-7.rpm
yum install -y yum-utils
yum-config-manager --enable remi-php72
yum install php php-common php-xmlrpc php-soap php-mysql php-dom php-mbstring php-gd php-ldap php-pdo php-json php-xml php-zip php-curl php-mcrypt php-pear php-intl setroubleshoot-server -y
Điều chỉnh upload_max_filesize file trong /etc/php.ini
upload_max_filesize = 20M
post_max_size = 21M
Phần 5: Cài đặt Moodle
Bước 1: Tạo mới Database
mysql -u root

CREATE DATABASE moodle DEFAULT CHARACTER SET utf8mb4 COLLATE utf8mb4_unicode_ci;

CREATE USER 'moodleuser'@'localhost' IDENTIFIED BY 'Cloud365a@123';

GRANT ALL PRIVILEGES ON moodle.* TO 'moodleuser'@'localhost' IDENTIFIED BY 'Cloud365a@123' WITH GRANT OPTION;

FLUSH PRIVILEGES;

EXIT;
Bước 2: Tải Source Moodle 3.8.1
cd
yum install -y wget
wget https://download.moodle.org/download.php/direct/stable38/moodle-latest-38.tgz
sudo tar -zxvf moodle-latest-38.tgz -C /var/www/html
Bước 3: Tạo mới thư mục chứa dữ liệu
sudo chown -R root:root /var/www/html/moodle
sudo mkdir /var/moodledata
sudo chown -R apache:apache /var/moodledata
sudo chmod -R 755 /var/moodledata
Bước 4: Cấu hình Virtual Host
cat <<EOF | sudo tee -a /etc/httpd/conf.d/moodle.conf
<VirtualHost *:80>

DocumentRoot /var/www/html/moodle/
ServerName moodle.nhanhoa.local
ServerAlias www.moodle.nhanhoa.local
<Directory /var/www/html/moodle/>
    Options FollowSymLinks
    AllowOverride All
    Order allow,deny
    allow from all
</Directory>

ErrorLog /var/log/httpd/moodle.example.com-error_log
CustomLog /var/log/httpd/moodle.example.com-access_log common

</VirtualHost>
EOF
Bước 5: Cài đặt Moodle
sudo /usr/bin/php /var/www/html/moodle/admin/cli/install.php \
--chmod=2777 --lang=en \
--wwwroot=http://10.10.12.100 \
--dataroot=/var/moodledata \
--dbtype=mariadb --dbhost=localhost --dbname=moodle \
--dbuser=moodleuser --dbpass=Cloud365a@123 \
--fullname=MoodleNH --shortname=MNH \
--adminuser=admin --adminpass=Cloud365a@123 \
--adminemail=bathanhtlu@gmail.com \
--agree-license
Lưu ý:
- wwwroot: Địa chỉ Moodle, trong bài máy ảo có IP 10.10.12.100
- adminuser: Tài khoản quản trị
- adminpass: Mật khẩu tài khoản quản trị
- adminemail: Email quản trị
- Nên xem log thao tác trước khi thực hiện
Lưu ý: Xem log thao tác tại đây
Bước 6: Chỉnh sửa quyền trên file cấu hình Moodle
sudo chmod o+r /var/www/html/moodle/config.phpBước 7: Khởi động lại httpd
sudo systemctl restart httpd.serviceKết quả
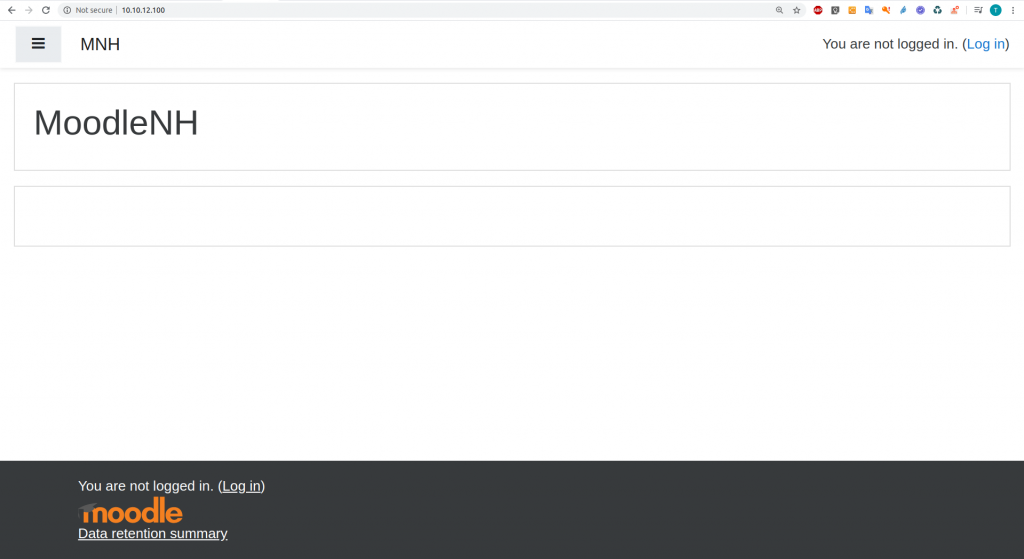
Thiết lập Moodle
Thiết lập thời gian hệ thống
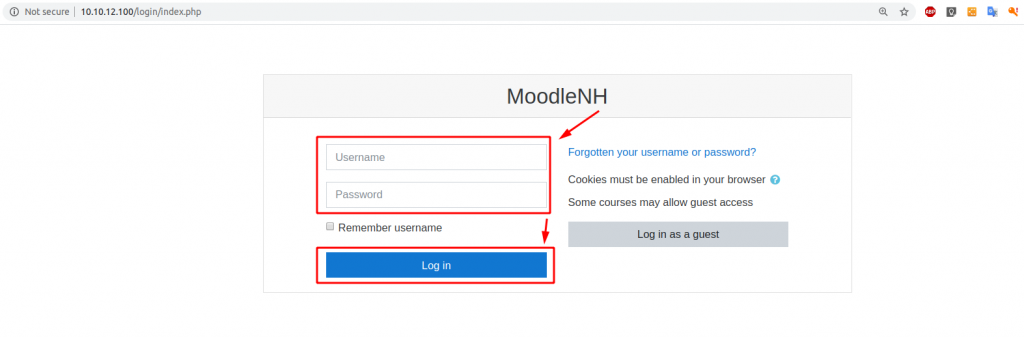
Bước 1: Đăng nhập Moodle
Lưu ý: Sử dụng tài khoản admin/Cloud365a@123
Bước 2: Truy cập trang quản trị
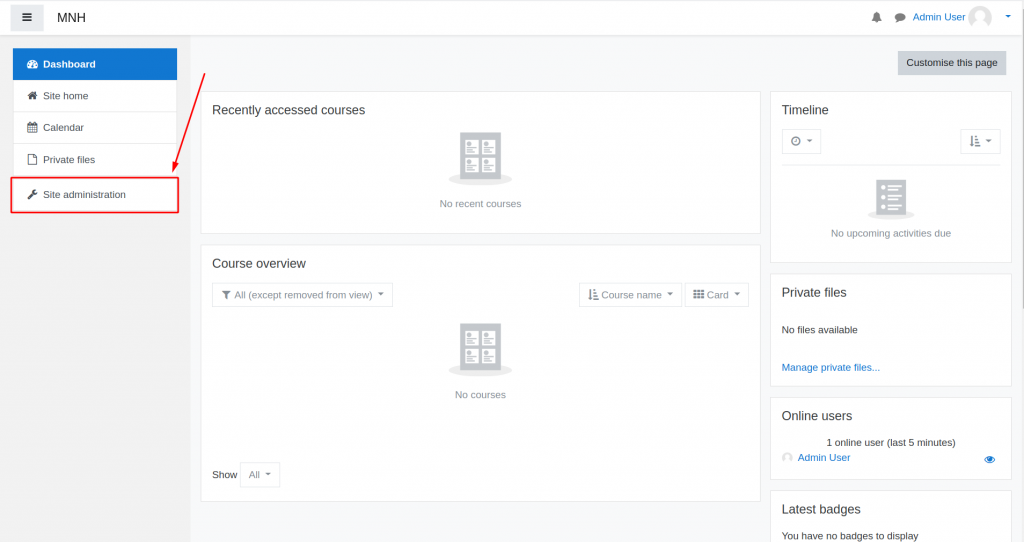
Kết quả
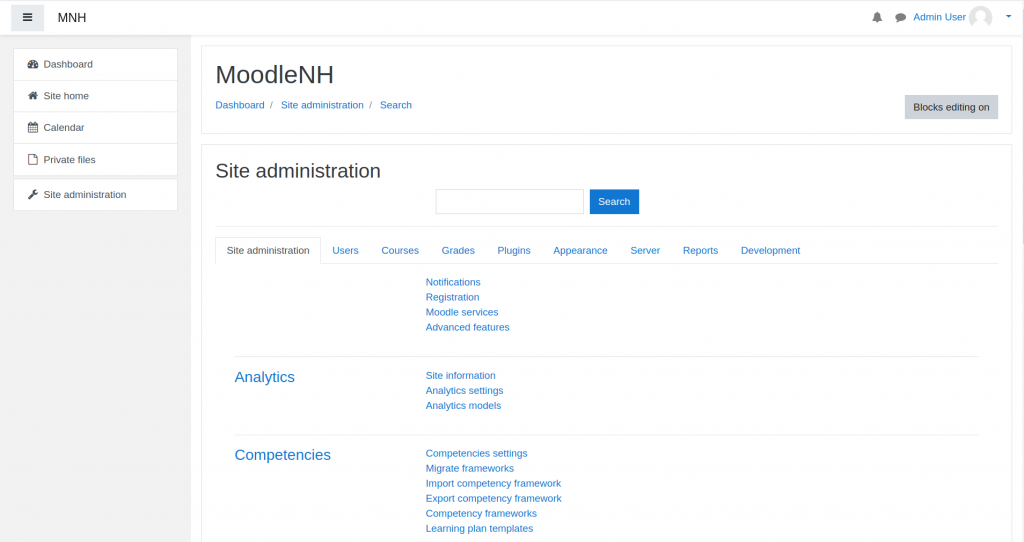
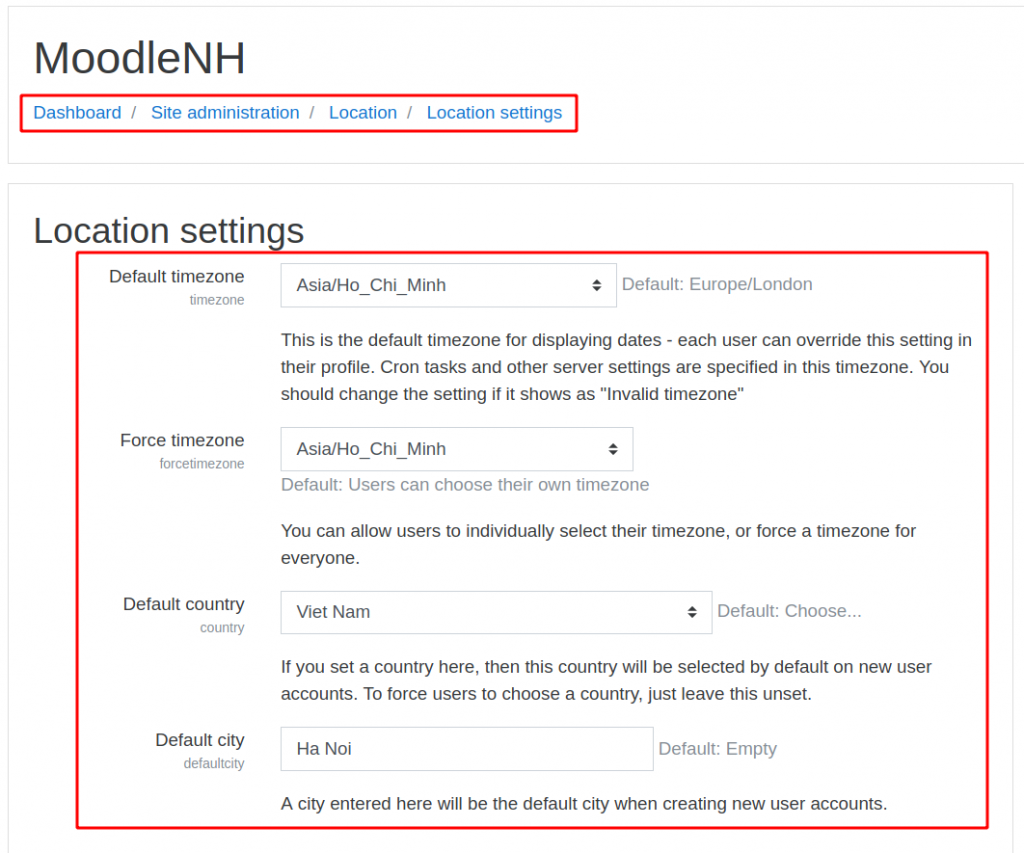
Bước 3: Truy cập theo đường dẫn “Site administrator > Site administrator > Location > Location settings”
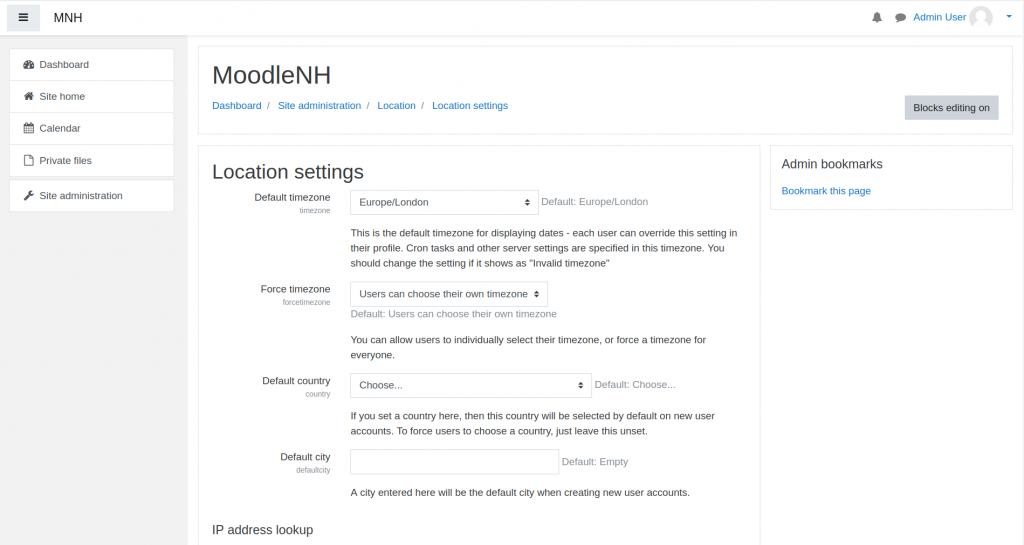
Chỉnh sửa cấu hình thời gian Moodle sang múi giờ Việt Nam, sau đó chọn Save Settings
Thiết lập giao diện Tiếng Việt
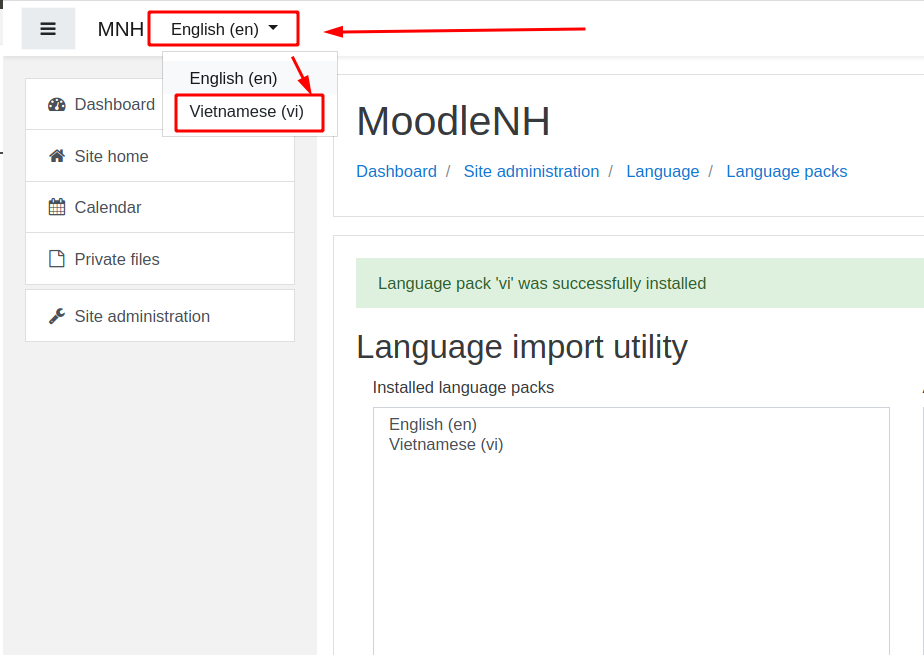
Bước 1: Truy cập theo đường dẫn “Site administrator > Site administrator > Language > Language packs”
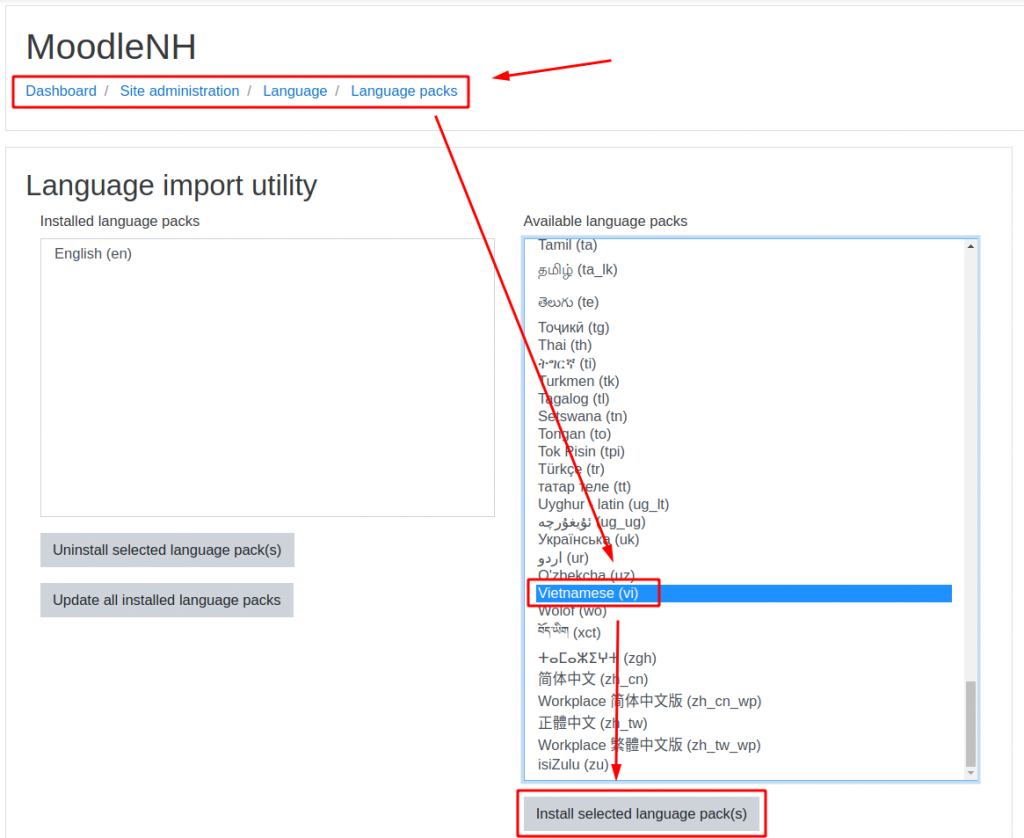
Sau khi lựa chọn ngôn ngữ Tiếng Việt chọn “Install selected language pack(s)”
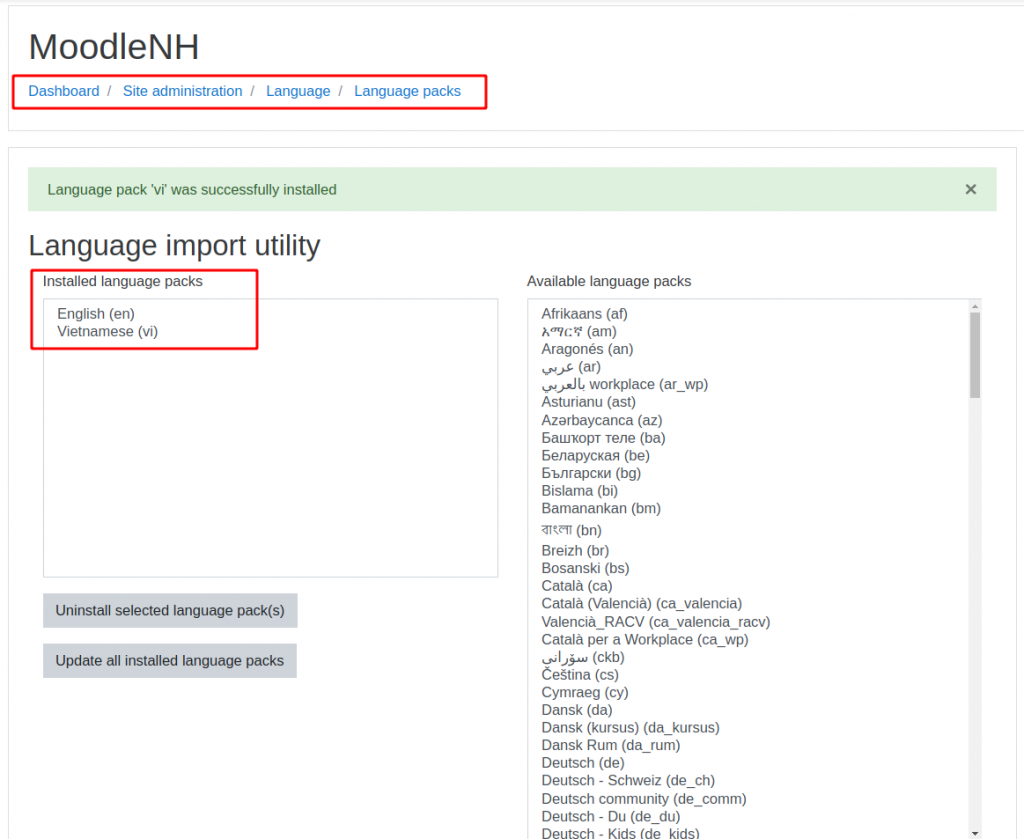
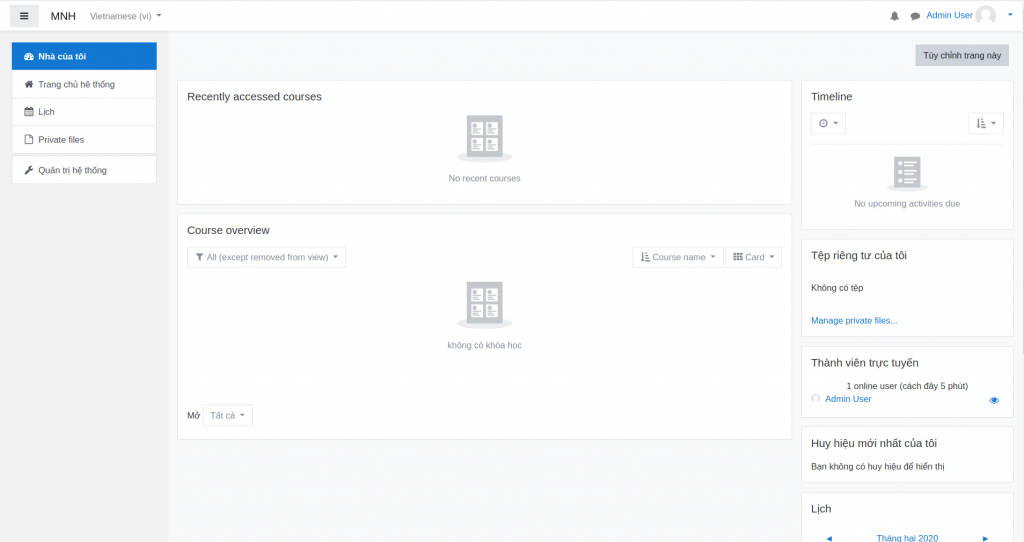
Sau khi cài đặt thành công, chúng ta đã có thể sử dụng ngôn ngữ Tiếng Việt tại Moodle
Kết quả
Tới đây, mình đã hướng dẫn xong các bạn triển khai Moodle trên môi trường CentOS 7. Chúc các bạn thành công.
Leave a Reply